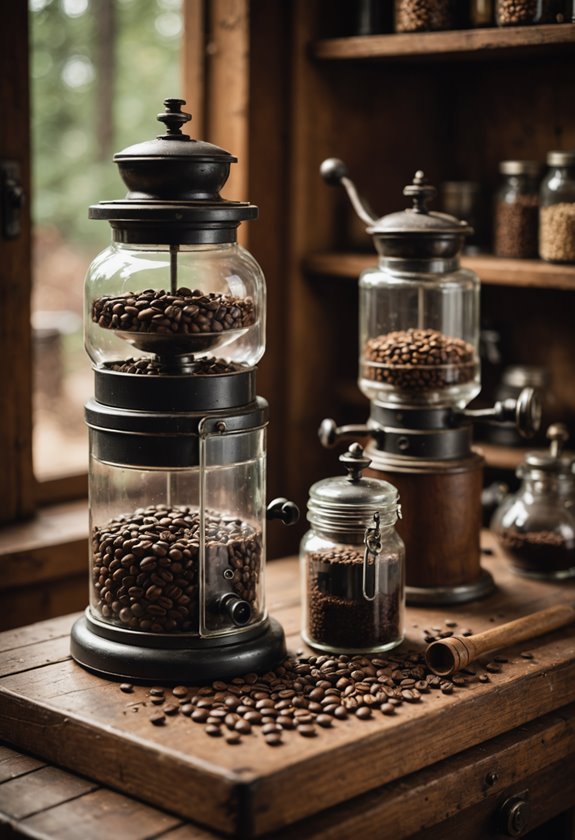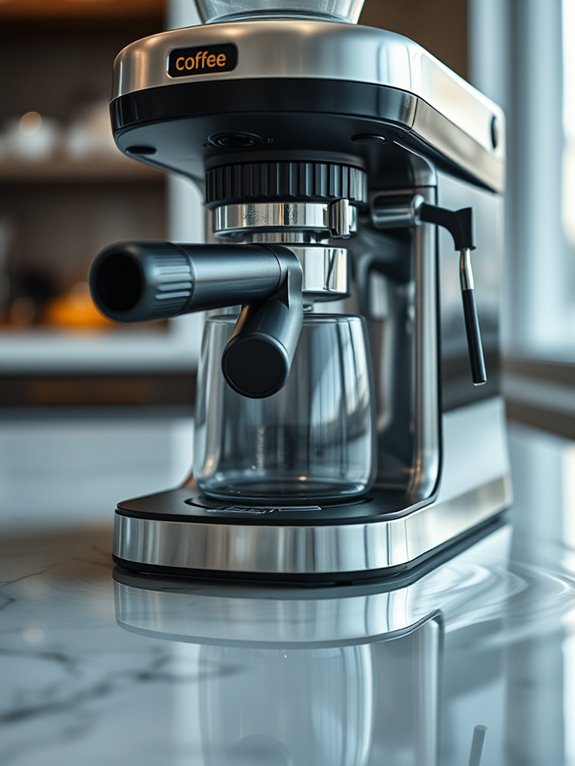
Why Does My Coffee Maker Leak Water From the Bottom
If your coffee maker is leaking water from the bottom, it might be due to a variety of issues. Overfilled water tanks can create pressure that causes leaks. Faulty seals and O-rings may lose their integrity, while clogged brew baskets can impede water flow. Damaged hoses, cracked tanks, or mineral buildup from skipping descaling are other culprits. Regular maintenance and inspections are key to preventing these problems. Uncover more solutions to tackle this issue with confidence.
Key Takeaways
- Overfilled water tanks can create excess pressure, causing leaks from the bottom.
- Damaged or misaligned O-rings disrupt seals, leading to water leaks.
- Cracked hoses or water tanks may result in water pooling underneath.
- Mineral buildup and coffee residue can clog components, causing leaks.
- Regular maintenance and inspection prevent leaks by ensuring proper component alignment and function.
Overfilled Water Tank Issues

When it comes to your coffee maker leaking water, overfilled water tanks are often a primary culprit. Let's investigate why. Filling beyond the 'Max Fill' line can create excess pressure, leading to leaks. Your machine might've an overflow mechanism that releases extra water, which can appear as a leak. Additionally, a misaligned O-Ring can also disrupt the seal and cause leaks from the bottom of the machine. Make sure the water tank is correctly aligned and seated, as improper placement disrupts the seal, causing spills. Always check the fill level, keeping it within the recommended limit. Before investigating other issues, verify your machine is plugged into a working outlet to ensure proper operation. Regular cleaning and descaling help prevent mineral build-up, maintaining your machine's performance and reducing the risk of leaks.
Faulty Seals and O-rings
Understanding why your coffee maker might be leaking often leads us to examine faulty seals and O-rings. These small components can cause big problems if not properly installed or maintained. Let's investigate the common culprits:
| Issue | Emotional Impact |
|---|---|
| Spiral Twisting Failure | Frustration |
| Sharp Edges | Annoyance |
| Damaged O-Rings | Worry |
Spiral twisting, sharp edges, and incorrect gland design often damage O-rings, leading to leaks. Regularly inspect hose connections for looseness or corrosion. If an O-ring is damaged, it may require replacement. Ensuring proper lubrication and maintenance can prevent these issues.
Clogged Brew Basket Problems

Clogged brew basket problems can be a real headache, but understanding the causes and solutions can save you time and frustration.
Let's examine the common issues. Coffee residue can stick to the brew basket's valve, blocking water flow. Simply cleaning this residue can resolve the problem.
Pay attention to valve orientation; installing it upside down blocks water. Regular cleaning of the brew basket is essential, as coffee oils accumulate and clog the system.
Descaling combats mineral buildup, ensuring smooth operation. Using a solution of equal parts vinegar and water every 3-6 months helps prevent stubborn clogs and bacteria growth. If you notice leaking, steam, or incomplete brewing, inspect for clogs and address them with forceful cleaning or professional help.
Damaged or Burst Hoses
Dealing with damaged or burst hoses in your coffee maker can be a frustrating experience, but understanding the root causes and solutions can make all the difference.
Let's investigate common causes: excessive water pressure can burst hoses, while material degradation leads to cracks over time.
Symptoms include water leaking from the base, visible droplets, sizzling sounds, and steam emissions.
To diagnose, inspect hoses for wear, check connections, and clean them to prevent blockages.
Repair by replacing damaged hoses, applying silicone grease to seals, and ensuring secure connections.
Prevention includes regular cleaning and avoiding overfilling to maintain your coffee maker's longevity.
Regular descaling treatments can prevent mineral buildup that puts additional stress on internal hoses.
Cracked Water Tank Concerns

A leaky coffee maker can be a morning hassle, especially when the problem stems from a cracked water tank.
Cracks might occur due to excessive limescale buildup, poor manufacturing, or accidental physical damage. Overfilling the tank can also pressure it, leading to potential cracks.
You might notice symptoms like water pooling underneath or continuous dripping during brewing. Regular descaling and gentle handling are key preventive measures. Always check your tank for signs of damage.
If a crack develops, replacing the tank with factory-recommended parts is often necessary, as temporary fixes like sealants usually fail to provide a lasting solution.
In areas with hard water conditions, mineral buildup can accelerate tank wear and increase the risk of cracks if not descaled monthly.
Loose or Damaged Tubes
Loose or damaged tubes in your coffee maker can be a sneaky cause of unexpected leaks. Let's investigate this issue further. If the hoses are split or brittle, leaks might occur during brewing. Loose hose clamps around the water reservoir can also contribute. Corrosion on metal tubing connections is another culprit. To diagnose, check for loose screws on the bottom panel and inspect all connections. Regular maintenance is key. Clean the machine, descale it, and align parts correctly.
| Symptom | Cause | Solution |
|---|---|---|
| Leakage during brewing | Split hose | Replace hose |
| Loose hose clamps | Misaligned or worn connections | Tighten or replace clamps |
| Corroded connections | Mineral buildup | Clean and descale regularly |
Excessive Coffee Grounds

Having examined the potential issues with loose or damaged tubes, let's investigate another common culprit behind your coffee maker's leaks: excessive coffee grounds.
Overfilled Brew Basket
Overfilling the brew basket often leads to spills.
Too many grounds can block water flow, causing leakage. Use less coffee to avoid overflow.
Improper Grind Size
Grounds that are too fine clog the filter, causing pressure buildup and leaks.
Adjusting to a coarser grind helps maintain even water flow.
Brew Basket Not in Place
Ensure the brew basket is properly inserted.
Without it, water and coffee spill over, leading to leaks.
Drip Stop Issues
Regularly clean the drip stop to prevent leaks during brewing.
Mineral Buildup From Lack of Descaling
When you neglect descaling, mineral buildup can become a sneaky culprit behind your coffee maker's leaks. Hard water is rich in minerals like calcium and magnesium, which form limescale when heated.
This buildup clogs internal pipes and valves, increasing pressure and potentially breaking seals. Over time, the heating element might suffer damage, leading to overheating and leaks. Weakened seals exacerbate the problem, allowing water to escape.
Let's examine how this not only reduces your machine's efficiency but also alters coffee taste and raises energy consumption. Descale regularly to avoid these issues and keep your coffee maker in top shape.
Inspecting the Brew Basket

Now that you're aware of how mineral buildup can lead to leaks in your coffee maker, let's investigate another common issue: the brew basket.
Ensuring the brew basket operates smoothly involves checking several aspects:
- Grind Size: Use a medium-coarse grind to prevent clogging, as finely ground coffee can cause water to back up.
- Coffee Grounds Quantity: Avoid overloading; follow a proper ratio of grounds to water using a measuring spoon.
- Filter Use: Stick to one filter type per brew to avoid blockages. Regularly clean or replace reusable filters to prevent oil buildup.
These steps can help keep your coffee maker leak-free.
Cleaning and Inspecting Tube Connectors
Inspecting and maintaining your coffee maker's tube connectors is essential for preventing leaks and ensuring smooth operation.
Let's investigate how you can tackle this task. First, look for water puddles beneath the machine, indicating possible leaks. During brewing or when the reservoir holds water, dripping signals an issue with the connectors.
Access the hose connections by removing the bottom panels, checking for cracked hoses or loose clamps. Use a small wire or brush to clear tubes, ensuring unobstructed water flow.
Regularly clean and descale to prevent mineral buildup, which can cause leaks. Replace damaged hoses or corroded tubes promptly.
Preventive Maintenance Practices

Preventive maintenance practices are key to keeping your coffee maker running smoothly and preventing leaks that can spoil your morning brew.
Let's examine some essential steps you can take:
- Quarterly Checks: Perform a full descaling of your coffee maker, test temperature settings, and replace any faulty switches. This guarantees the machine operates efficiently.
- Bi-Annual Inspections: Replace worn parts like O-rings and gaskets, check for leaks, and service your water filtration system. This avoids minor issues from becoming major problems.
- Monthly Overhaul: Clean drip trays, inspect for clogs, and lubricate moving parts. Keeping these components in top shape minimizes the risk of leaks.