How to Toast Your Own Coffee Beans?
Toasting your own coffee beans at home is a gratifying experience, offering you control over every detail from bean selection to roasting. First, select high-quality green coffee beans, paying attention to origin and harvest date for flavor richness. Choose a roasting method—stovetop for hands-on control, oven for convenience, or a popcorn machine for consistency. During roasting, monitor stages like yellowing and first crack to develop desired flavors. Use proper equipment like a home roaster or stovetop pan, ensuring temperature control. Once roasted, store beans in airtight containers to preserve freshness. Ready for more revelations into altering beans into aromatic perfection?
Key Takeaways
- Select high-quality green coffee beans from specialty suppliers for the best flavor.
- Choose a roasting method like stovetop, oven, or dedicated home coffee roaster.
- Monitor roasting stages carefully, from yellowing to first and second cracks.
- Use equipment that offers good temperature control for consistent roasting results.
- Store roasted beans in airtight containers and grind only before brewing.
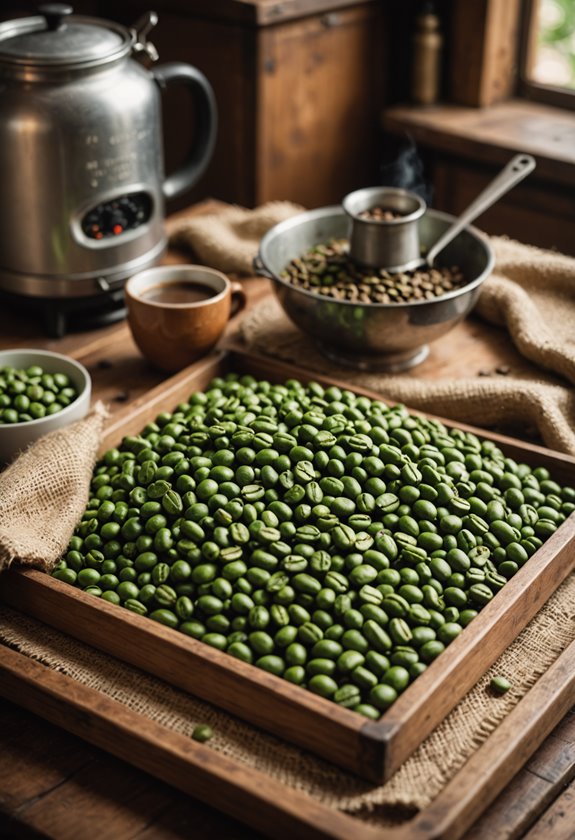
Selecting Green Coffee Beans

Selecting the right green coffee beans is vital for a flavorful roasting experience. To guarantee you're getting the best beans, aim for high-quality sources. Specialty coffee suppliers or platforms like Sweet Maria's offer diverse, fresh options.
Let's investigate the importance of understanding coffee origins and their flavor characteristics. For instance, Ethiopian beans often have fruity notes, while Colombian beans present a balanced profile. Knowing these can guide your choices.
Pay close attention to the harvest date. Fresher beans generally deliver superior flavor and aroma during roasting.
Don't forget the processing methods, either. Washed or natural processing greatly impacts the taste. This understanding is fundamental as you select your green coffee beans.
If you're unsure of your preferences, consider purchasing sample sets. They allow you to experiment with various beans without committing to large quantities. This trial and error approach can help you uncover which flavor characteristics align with your tastes.
As you roast, notice the aroma changes—this is part of the fun and revelation. By focusing on these factors, you're setting yourself up for a successful and delicious coffee roasting journey.
Every brew lover's preference will influence their choice of beans, from light and fruity to rich and bold flavors.
Choosing a Roasting Method
Once you've identified your preferred green coffee beans, it's time to contemplate how you'll roast them. Selecting the right roasting method is vital for achieving that perfect cup of coffee.
Let's investigate some options.
Stovetop Roasting
Using a pan on the stovetop is straightforward but demands constant stirring for an even roast. You'll hear the first crack within 5-10 minutes, indicating the beans are beginning to roast.
Oven Roasting
Place your green unroasted coffee on a baking tray. This method takes about 15-20 minutes and requires occasional turning.
Guarantee good ventilation to handle smoke effectively.
Hot Air Popcorn Machine
A popcorn machine employs hot air for better circulation, leading to a consistent roast. Expect the first crack around 4 minutes, with the second crack between 10-15 minutes.
Dedicated Home Coffee Roaster
For serious enthusiasts, a dedicated home coffee roaster offers precise temperature control, roasting up to 1 kg of beans in 12-15 minutes.
It guarantees an even roast every time.
Alternative Methods
Consider a hot air fryer or sous vide for unique experiences.
Sous vide provides precise temperature management, resulting in consistent roast outcomes.
Choosing the right method depends on your preferences and the equipment you have.
A heavy-bottomed pan is essential for optimal heat distribution when pan roasting coffee beans.
Understanding Roasting Stages

As you venture into the art of coffee roasting, understanding the stages is vital for crafting the perfect brew. The roasting process begins with the yellowing stage, where green beans lose moisture and give off a grassy aroma. This stage typically occurs at temperatures between 350-500°F.
Let's investigate the stages that follow.
First Crack
The first crack happens 5-10 minutes into roasting, depending on your method. You'll hear a popping sound as chemical reactions alter the beans, marking the beginning of significant roasting and flavor development. This is a key point in home roasting, as it sets the stage for creating fresh coffee with your desired roast level.
Browning Stage
After the first crack, the browning stage occurs. Here, sugars caramelize, enhancing the complexity of flavors. By controlling the temperature, you can adjust this stage to achieve your desired roast, allowing the beans to develop distinct aromas and tastes.
Second Crack
The second crack marks a shift where beans take on darker characteristics. Occurring around 10-20 minutes in, it signals a deeper roast. Maintaining temperature control is key to prevent overshadowing the beans' original flavors. A convection oven setup provides consistent heat distribution for achieving your perfect roast at home.
Perfecting these stages lets you enjoy a range of flavor profiles.
Using Roasting Equipment
Diving into the world of coffee roasting requires the right equipment to achieve your desired results.
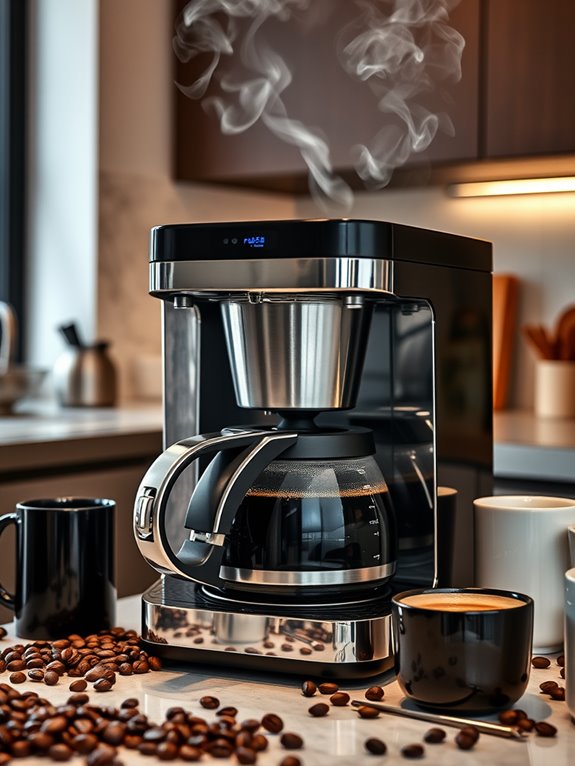
Fresh roasted coffee delivers enhanced flavor and aroma compared to store-bought beans.
Let's investigate how different tools can enhance your roasting coffee expedition. For your first roast, consider home roasters with features like temperature control and chaff collection. These guarantee even roasting and minimal mess, perfect for handling unroasted coffee beans.
If you're starting out, a popcorn machine is a great beginner option. Its effective hot air circulation provides consistent roast results in about 10-15 minutes. The even roasting and simple process make it a favorite for many hobbyists.
For those who prefer hands-on methods, stovetop techniques like using a skillet demand active attention. Constant stirring prevents burning and helps achieve your desired degree of roast in 10-20 minutes. However, this method can result in uneven roasting if not careful.
Dedicated drum roasters offer precision and control, handling up to 1 kg of green coffee. This equipment allows you to fine-tune roasting time and temperature, tailoring specific flavor profiles to your liking.
To wrap up the roasting process, use a metal colander or cooling tray. These tools quickly stop the roast, preserving flavor and aiding in effective chaff collection.
Storing and Enjoying Roasted Coffee

After perfecting your roast with the right equipment, it's time to focus on storing and enjoying your roasted coffee beans. Proper storage is essential to preserving the beans' freshness and flavor. Let's examine how you can achieve the best results.
- Use Airtight Containers: Store your roasted coffee beans in airtight containers made of glass or ceramic. This helps protect them from air, light, and moisture, ensuring their freshness.
- Release Carbon Dioxide: After roasting, let your beans vent overnight in an open container. This allows carbon dioxide to escape, which, if trapped, can affect your coffee's flavor.
- Preserve Freshness: Roasted coffee beans stay fresh for up to six weeks. However, for the best flavor profile, enjoy your freshly brewed coffee within a few days of roasting.
- Grind Before Brewing: For the best flavor, grind your whole beans just before brewing. Ground coffee loses its freshness much quicker than whole beans, so this step is essential for maintaining that rich taste and aroma.
Store your containers in a cool, dark place away from direct sunlight and heat sources to maximize the longevity of your roasted beans.