How to Descale Coffee Maker
To descale your coffee maker, start by emptying the water reservoir and discarding any coffee grounds. Choose a descaling method like vinegar, citric acid, or a commercial solution. Pour the solution into the reservoir, run a full brewing cycle, then rinse by running several cycles with clean water. Regular descaling every 3-6 months prevents scale buildup, maintains coffee taste, and extends your machine's life. Stick with us to uncover more effective tips and methods.
Key Takeaways
- Empty the water reservoir and remove any coffee grounds before starting the descaling process.
- Choose a descaling method: vinegar, baking soda, citric acid, or a commercial solution.
- Pour the chosen descaling solution into the reservoir and run a full brewing cycle.
- Repeat brewing cycles with the solution until it is completely used up.
- Rinse the machine thoroughly by running additional brew cycles with fresh water.
Reasons for Descaling Your Coffee Maker
Descaling your coffee maker is essential for several persuasive reasons, ensuring your morning brew is always at its best. Scale buildup affects brewing, slowing down water flow and altering temperature control, which leads to inconsistent coffee quality. If left unchecked, mineral deposits can clog the machine, causing malfunctions and potential damage to internal components like heating elements and valves. Regular descaling helps prolong the lifespan of your coffee maker by preventing these issues. This buildup not only reduces efficiency but also imparts a bitter or metallic taste to your coffee. In regions with hard water conditions, experts recommend monthly descaling to maintain optimal machine performance.
Getting Your Coffee Maker Ready for Descaling
Before you begin descaling your coffee maker, it's crucial to prepare it properly to guarantee effective results.
Start by removing coffee grounds and rinsing the carafe with warm water. Wipe the exterior with a damp cloth, ensuring the water reservoir is empty. Remove any detachable parts for cleaning.
Next, perform an initial cleaning: unplug the machine, and use a soft cloth with mild soap to wipe it down. Wash removable parts with warm water and dry them thoroughly.
Finally, check that your machine is reassembled correctly and placed on a stable surface. Consult the user manual for any specific instructions before proceeding.
Look for signs of white mineral deposits inside the machine, as these indicate significant calcium buildup requiring immediate attention.
Choosing the Right Descaling Method

When it comes to choosing the right descaling method for your coffee maker, it's important to know that each option has its own set of benefits and potential drawbacks.
Vinegar Descaling: Affordable and effective, vinegar's acidity breaks down mineral buildup.
Mix it with water, but remember to rinse thoroughly to avoid any aftertaste.
Baking Soda Descaling: Natural and inexpensive, baking soda doesn't leave an aftertaste.
Dissolve it in water, run it through, and rinse well.
Citric Acid Descaling: Eco-friendly and safe, citric acid efficiently removes deposits.
Its lower pH minimizes odors.
For optimal results, perform regular descaling cycles based on your water hardness and frequency of use.
Let's investigate which method suits your coffee maker best!
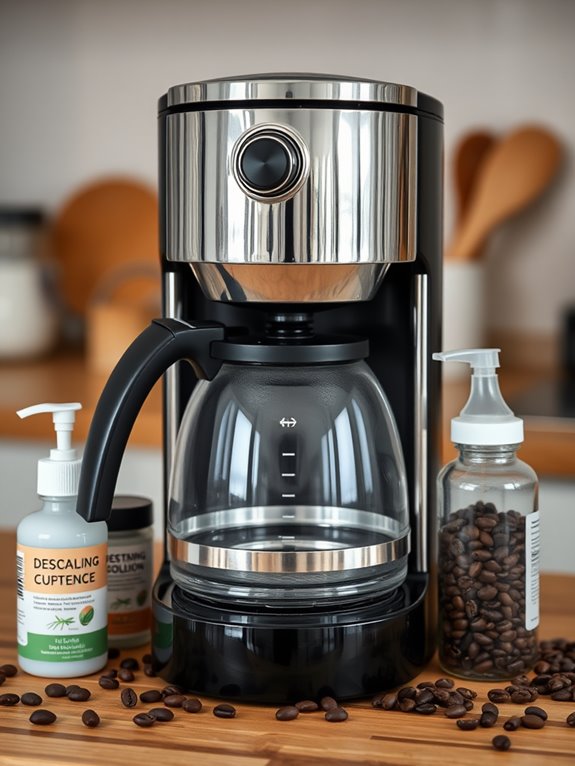
Using Commercial Descaling Solutions
Exploring the use of commercial descaling solutions can be a breakthrough for maintaining your coffee maker's performance.
These solutions effectively tackle limescale and mineral deposits, enhancing your machine's lifespan and the coffee's flavor. They're quick, efficient, and reduce the risk of damage.
Always choose a solution with natural ingredients like citric acid, compatible with your coffee maker, and endorsed by reputable organizations.
Before starting, empty your water reservoir, mix the solution with water, and run a brewing cycle. Discard, rinse, and check for remaining scale.
Regular descaling is essential, so follow manufacturer guidelines for the best results.
Depending on your water hardness level, you should plan to descale your coffee maker every 3-6 months.
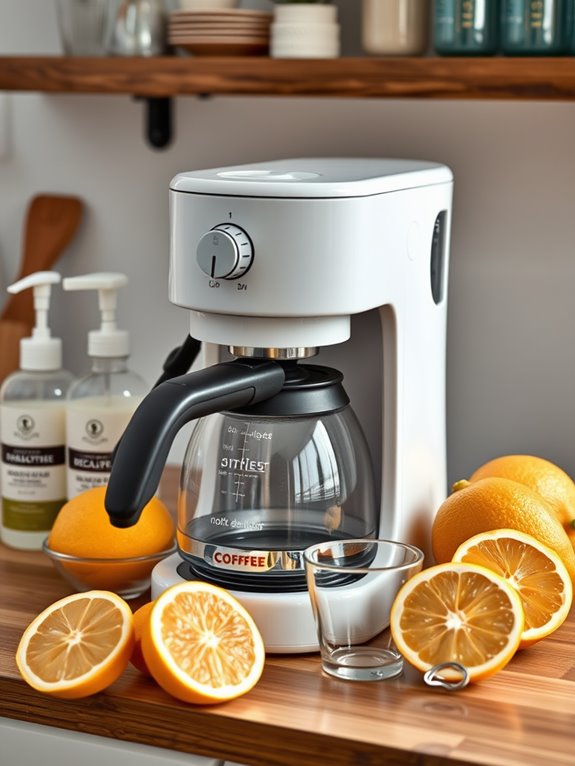
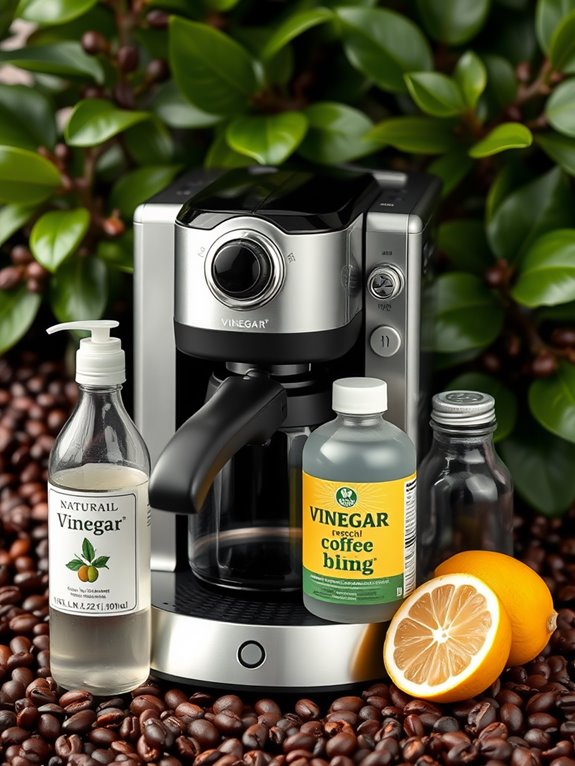
Vinegar as a DIY Descaling Option

Descaling your coffee maker with vinegar is a simple yet effective method that many people trust for keeping their machines in top shape.
Start by filling the reservoir with a 50/50 mix of white distilled vinegar and water. Run a brew cycle, then pause halfway to let the solution soak for 30 minutes to an hour. This soaking step breaks down mineral deposits and disinfects your machine.
After completing the brew cycle, thoroughly rinse by running multiple cycles with fresh water to eliminate any vinegar taste.
Finally, handwash removable parts with warm soapy water to guarantee ideal cleanliness.
Alternative Natural Descaling Agents
While vinegar is a popular choice for descaling coffee makers, it's not the only option.
Let's investigate natural alternatives that are effective and easy to use.
Baking Soda: Mix 1/4 cup in warm water, run a cycle, discard, and rinse until clear.
It's great for removing buildup without leaving an aftertaste.
Citric Acid: Combine 1 teaspoon with 2 quarts of water, run a cycle, and rinse.
It's eco-friendly and leaves minimal odor.
Lemon Juice: Mix equal parts with water, run at least one cycle, and rinse.
It might need a few cycles but leaves a pleasant scent.
Steps for Effective Descaling
To descale your coffee maker effectively, begin by preparing the machine for the process.
First, empty the water reservoir and remove any coffee grounds. Don't forget to check for lingering filters. Confirm the reservoir is clear for the descaling solution.
Refer to the user manual for specific guidelines customized to your model.
Next, gather your supplies: a commercial descaling agent or vinegar, mild soap, and clean water.
Pour the recommended solution or vinegar mixture into the reservoir. Run a complete brewing cycle to let the solution work.
Repeat cycles until the solution is used up.
Let's examine effective descaling!
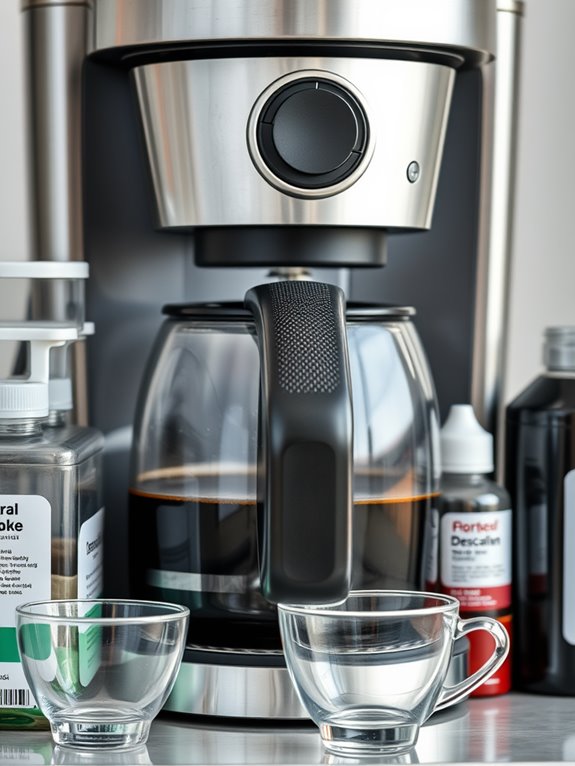
Rinsing and Cleaning After Descaling
After successfully descaling your coffee maker, it's important to thoroughly rinse and clean the machine to guarantee peak performance and taste.
Start by running two to three brew cycles with fresh, cool water. This removes any lingering descaling solution and prevents residual acids from tainting future brews.
Cleaning the Exterior
Gently wipe the coffee maker's exterior with a damp microfiber cloth, avoiding water submersion to prevent electrical damage.
Cleaning Internal Parts
Hand-wash removable parts like the carafe and brew basket using warm, soapy water, and let them dry completely to prevent bacterial growth.
Maintaining Your Coffee Maker for Longevity
Maintaining your coffee maker for longevity is essential if you want to enjoy consistently great coffee without frequent repairs or replacements.
Let's investigate key practices to extend your machine's life. Regular descaling every 1 to 3 months prevents hard water damage.
Clean removable parts after each use to stop residue buildup. Use filtered water to reduce mineral content.
Check power cords for wear and store your coffee maker away from dust.
If brewing slows or tastes off, it might be time for a replacement.
Using these tips, you'll keep your coffee maker running smoothly for years to come.