How Do You Roast Coffee Beans on a Stove?
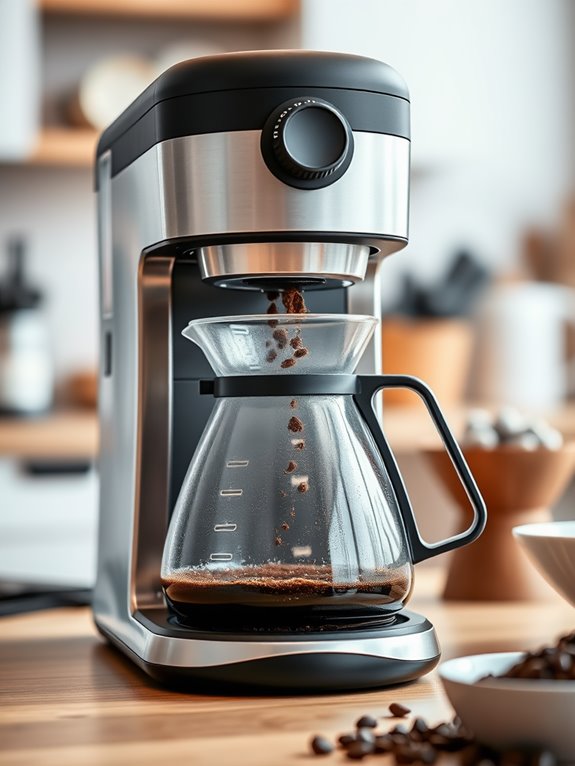
To roast coffee beans on your stove, start with key tools: a cast iron pan, digital thermometer, and sturdy wooden spoon. Preheat your pan to about 500°F and add ¾ to 1 cup of quality green coffee beans, stirring constantly to prevent burning. As beans heat, note the "first crack" sound, signaling the aroma shift to coffee. Aim for your desired roast, then swiftly transfer beans to a metal colander to cool and halt cooking. Guarantee proper ventilation to manage smoke. Let the roasted beans rest for at least 12 hours to enhance flavor. Let's investigate each step for an ideal roast.
Key Takeaways
- Preheat a cast iron pan to approximately 500°F for optimal roasting conditions.
- Add ¾ to 1 cup of green coffee beans to the preheated pan.
- Stir beans constantly with a sturdy wooden spoon to ensure even roasting.
- Listen for the first crack around 6 minutes, indicating a transition to a coffee aroma.
- Quickly transfer roasted beans to a metal colander to cool and stop cooking.
Essential Equipment and Preparation

When you're gearing up to roast coffee beans on the stove, having the right equipment is key. Let's examine what's essential for successful stovetop roasting.
First, a cast iron pan is your best friend. Its ability to distribute heat evenly prevents scorching your green coffee beans. Preheating this pan to around 500°F is vital. Use a digital thermometer to monitor the temperature closely to guarantee effective roasting.
Next, you'll need a sturdy wooden spoon for constant stirring. This helps evenly roast the beans and prevents burning.
After roasting, quickly transfer the beans to a metal colander. This stops the cooking process, making sure your beans don't over-roast. Gloves or oven mitts are non-negotiable when handling hot equipment and beans, keeping your hands safe from burns.
Ventilation is another important factor. Stovetop roasting generates smoke that can quickly fill your kitchen, so make certain your space is well-ventilated. Open windows or activate exhaust fans to manage the smoke effectively.
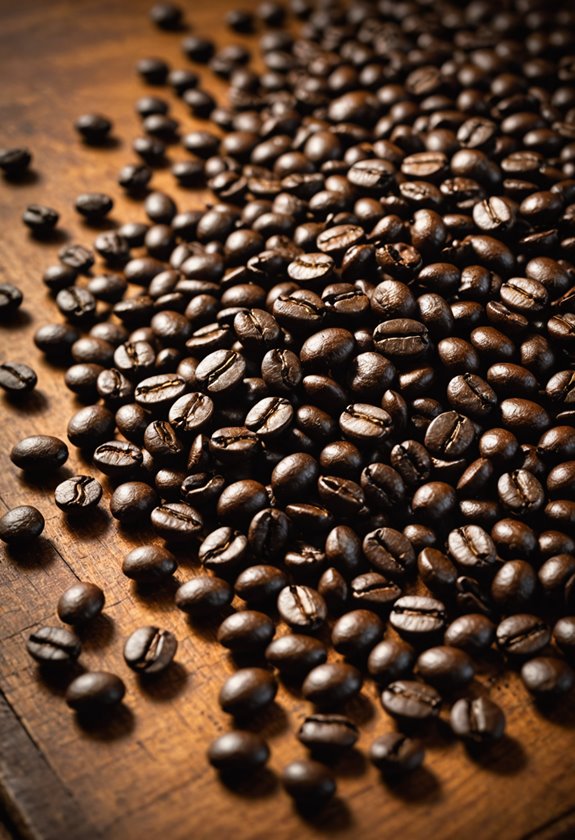
Quality green beans are essential for achieving the best flavor profiles in your home-roasted coffee.
This preparation guarantees a smoother roasting experience, setting you up for success in creating your perfect coffee roast right on your stovetop.
Step-by-Step Roasting Process
With your equipment ready and preparation complete, it's time to get roasting. Begin by preheating your cast iron pan on the stovetop to around 500°F. This high temperature is essential for effective roasting.
Once heated, add ¾ to 1 cup of green coffee beans. Stir the beans continuously to guarantee even roasting and prevent scorching.
Roasting Process
As you stir, listen carefully for the first crack, which typically occurs about 6 minutes into roasting. This sound marks a significant milestone in the roasting process, signaling that the beans are shifting from a raw state to the familiar coffee aroma.
Monitoring Roast Levels
Pay close attention to the color and aroma changes. Initially, the beans will have a grassy smell, then shift to a scent reminiscent of baking bread, and finally to coffee. These changes indicate the different roast levels you can achieve.
Cooling and Flavor Development****
Once you've reached your desired roast level, quickly transfer the beans to a metal colander for cooling. Stir to help cool them down and remove chaff.
Let the roasted beans rest for at least 12 hours to enhance flavor development before sealing them in an airtight container.
While a stovetop pan is traditional, some home roasters prefer using popcorn poppers for more consistent results.
Tips and Troubleshooting

Although roasting coffee beans on a stove can seem straightforward, a few tips and tricks will help you achieve the perfect roast.
Begin by confirming your cast iron skillet is preheated to around 500°F. This high-heat roast environment prevents scorching and promotes even roasts. Once preheated, add your green coffee beans to the skillet. It's essential to stir the beans continuously, at least every minute. This constant movement guarantees even cooking and prevents any beans from burning.
Listening for the first crack is key. It typically occurs around six minutes into roasting, signaling the beans are nearing a light roast stage. Once the desired roast is achieved, quickly transfer the beans to a metal colander for cooling. This halts the cooking process and allows you to remove excess chaff effectively.
If you encounter excessive smoke production, consider roasting outdoors or increase your kitchen's ventilation. This smoke is a normal part of roasting methods but managing it will make your experience more pleasant. For optimal results, use high-quality beans since the bean selection significantly impacts your final brew's flavor.
Conclusion
You've now got the skills to roast coffee beans right on your stove. With the essential equipment, step-by-step process, and helpful tips, you can convert green beans into flavorful coffee. Remember, practice makes perfect, so don't worry if your first batch isn't flawless. Experiment with different roast levels to find your favorite flavor. Enjoy the rich aroma and taste of homemade coffee, and savor every sip knowing you crafted it yourself. Happy roasting!