Best Way to Clean Coffee Maker With Vinegar
To clean your coffee maker with vinegar, first confirm it's unplugged for safety. Mix equal parts white vinegar and water, about 30 ounces each, and pour into the reservoir. Start a brew cycle but pause it halfway for 30 minutes to let the solution descale the machine. Then, complete the cycle and rinse with water to remove the vinegar smell. Consistent cleaning, especially in hard-water areas, enhances taste and longevity. Investigate more steps and maintenance tips.
Key Takeaways
- Mix white vinegar and water in a 1:1 ratio for an effective cleaning solution.
- Pour the vinegar solution into the coffee maker's water reservoir.
- Run a regular brew cycle, stopping halfway to let it sit for 30 minutes.
- Complete the brew cycle and rinse thoroughly with clean water until the vinegar smell is gone.
- Regular cleaning prevents mineral deposits and maintains coffee taste and machine performance.
Essential Ingredients and Tools
Let's investigate the essential ingredients and tools you'll need to effectively clean your coffee maker.
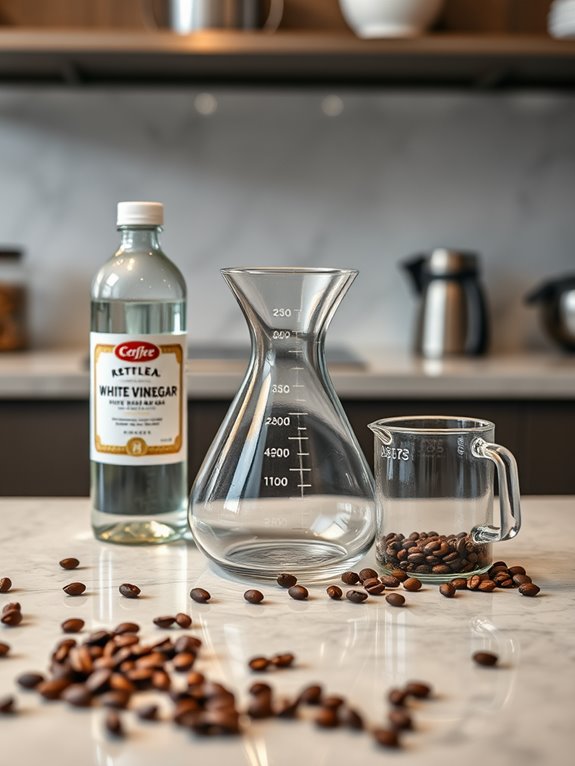
Start with white vinegar and water, mixed in a 1:1 ratio. For a 12-cup coffee maker, use 30 ounces each. Adjust this for smaller machines. Vinegar's acidic nature makes it a powerful cleaning agent that disinfects and alleviates calcium deposits.
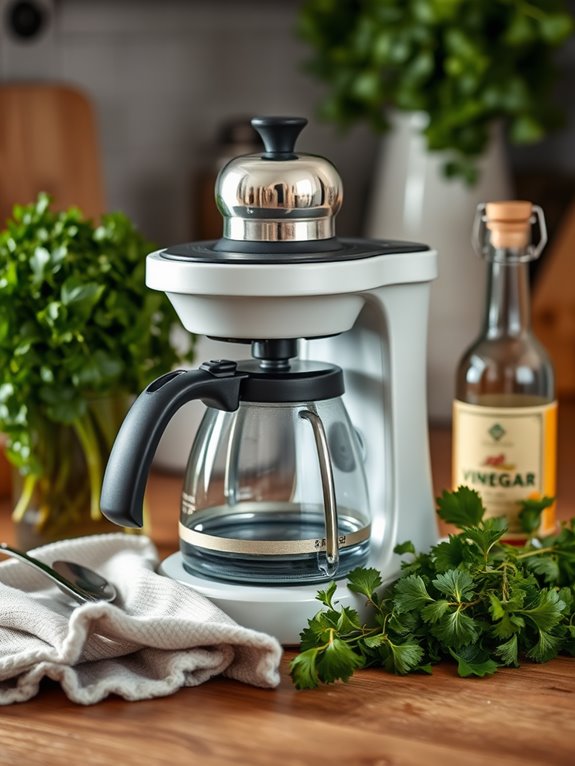
Confirm the filter basket is empty and rinsed. You'll also need a lint-free cloth to wipe the exterior and removable parts. A large bowl can catch spills. Commercial descalers are also effective alternatives to vinegar.
Remember to use dish soap for daily cleaning and rinsing of the carafe and parts.
Check the manufacturer's instructions for specific tips, and always unplug the coffee maker for safety.
Step-by-Step Preparation
To prepare for cleaning your coffee maker effectively, you'll need to follow several essential steps to guarantee a thorough job.
First, verify the coffee maker is unplugged and cool to the touch, prioritizing safety.
Next, remove any leftover coffee grounds from the filter basket to prevent clogs and mold.
It's vital to check the manufacturer's manual for specific cleaning instructions and vinegar use guidance.
Finally, prepare your cleaning space to keep everything organized and efficient.
Regular cleaning helps prevent white mineral deposits from building up inside your machine and affecting coffee taste.
- Unplug the coffee maker
- Remove leftover coffee grounds
- Review the manufacturer's manual
- Prepare the cleaning space
Let's investigate these steps to confirm your coffee maker is ready for cleaning.
Executing the Cleaning Process
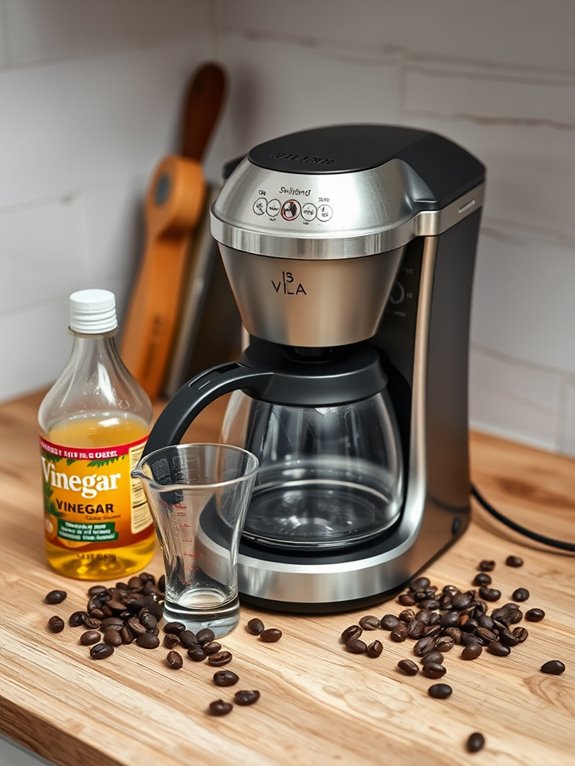
Commence the expedition of executing the cleaning process for your coffee maker with confidence. Begin by preparing a vinegar solution using equal parts white vinegar and water. Pour this mixture into the water reservoir, making sure the filter basket is empty. Run a regular brew cycle, stopping halfway through, and let it sit for 30 minutes. Then, continue brewing until completion. Finally, rinse thoroughly to remove any vinegar residue. Regular descaling maintenance intervals depend on your local water hardness and how frequently you use the machine. Use the table below for quick reference:
| Step | Action | Duration |
|---|---|---|
| Brew Cycle Start | Run halfway | 30 minutes soak |
| Brew Cycle Complete | Finish brewing | Immediate |
| Rinse Cycle | Brew clean water | Until smell gone |
Descale and Disinfect for Optimal Performance
When it comes to keeping your coffee maker in peak condition, descaling and disinfecting are essential steps you shouldn't skip.
Regular descaling prevents mineral buildup that can hinder performance and taste, while disinfecting reduces germ growth in those notoriously germy reservoirs.
Using vinegar is a practical choice for both tasks, but always check your machine's manual first.
In areas with hard water conditions, you may need to perform this cleaning process monthly rather than every 3-6 months.
Let's examine some key benefits:
- Prevents mineral buildup: Keeps your coffee tasting fresh.
- Reduces germ growth: Guarantees a clean brewing environment.
- Maintains efficiency: Extends the life of your machine.
- Guarantees health safety: Eliminates mold and yeast for safe coffee.
Establishing a Maintenance Routine
Maintaining your coffee maker's peak condition isn't just about descaling and disinfecting; it's about establishing a consistent maintenance routine that guarantees every cup you brew is the best it can be. Let's investigate how quarterly checks, bi-annual tune-ups, and daily care routines contribute to ideal performance.
| Maintenance Frequency | Key Activities | Purpose |
|---|---|---|
| Quarterly | Test temperature, descale, deep clean | Prevent buildup, assure quality |
| Bi-Annual | Replace parts, inspect for leaks | Maintain performance, longevity |
| Daily | Rinse parts, clean steam wand | Hygiene, prevent mineral deposits |
Identifying and Resolving Common Issues
How often do you stop to reflect on the small issues that can gradually compromise your coffee maker's performance? Identifying common problems is key to maintaining its efficiency.
Mineral buildup, coffee oil residues, and bacterial growth can all affect flavor. High calcium levels can lead to deposits, altering taste.
To resolve these:
- Vinegar Solution: Mix equal parts vinegar and water to descale effectively.
- Running the Cycle: Brew with the solution, pausing midway for deep cleaning.
- Rinsing Thoroughly: Cycle water twice to remove vinegar traces.
- Regular Maintenance: Frequent cleaning prevents buildup, extending machine lifespan.
Let's examine these solutions for a consistently great brew.